Being a homeowner isn’t for the faint of heart, there’s always a chance for things to go wrong, especially considering that we’re in Texas and well… *gestures at the Valentine’s day week of February 2021*. So with that being said, as soon as the ink was dry on our house contract and we had closed, I was already in process of soliciting for a standby whole home generator. This three part article will cover everything from the decision making process of the generator and its installation (this article), how I monitor the generator using GenMon, an opensource application suite on Github (Part II), and lastly, how I implemented Grafana, Prometheus, and SNMP Exporter (Part III) to get the level of monitoring I am comfortable with.
What happened in Feb 2021?
The short of it is that a super cold winter storm made its way from the far North and caused statewide power outages because of the severe cold due to the fact that the Texas power grid had not been weatherized against super cold weather. People died. The storm caused 702 deaths in Texas because the state grid couldn’t keep up.
We were in an apartment when that happened. I can not describe the emotional impact that the event had on both my wife and I. While our apartment emerged unscathed once everything thawed out, the solar experiment I had built literally saved our asses, providing just enough power to run an inverter so I could charge my CPAP, our laptops, our phones, and have some lights (battery operated Ryobi lights) for the evening/nights.
Two things emerged from that one incident. One, a generator was no longer a “nice to have”, it was a requirement, and two, we were never going to go through something like that ever again. A friend of ours almost lost both their feet due to frostbite and neuropathy. We were going to build a safe haven for our friends and family.
Anyway, back to the meat of this article.
The first step…
While technically, we were already under contract on our house when the Texas Freeze occurred, we had already decided on a few key elements. The house had to have natural gas service and had to have a natural gas furnace. At the worst possible scenario, we could power the furnace off a 3kW pure sine inverter and stay warm, even if nothing else was powered. While alternatives exist (like buying a 1,000 gallon propane tank and putting it in the ground), natural gas was the easier option. Some houses that don’t have NG service but do want standby power available can use this as an option however you would need to factor LNG delivery as a possible factor for a long term outage scenario.
Next, we had to do a power audit. What appliances would we want to be able to use in a power failure? Of course, we’d need our electric stove (we don’t have a gas outlet for that yet), we’d need our AC/Heat system to be available, we’d need our computers available for communications, and our TV for keeping up to date with the news. Performing a power audit on a residential house is easy, you just use an ammeter with a clamp probe and take the reading in amperage on each leg of the incoming service, then add up the L1 and L2 readings to get your total amp draw. You don’t read the neutral. After checking our loading and obtaining several readings, we came up with a nominal amperage of 30A, with 60A being the “maximum” (all big loads running at the same time). This helps us determine the wattage necessary to provide power to the house without having to rely on load shedding and can be derived using W=V*A, in our case, 14400(watts)=240(volts) * 60(amps).
One thing to keep in mind though is that generators do not like to be run at maximum rating. You want to shoot for no more than 80% of the generator’s rated capacity. so, 14400 / 4 = 3,600 + 14400 = 18000 or 18kW for an 80% rating minimum. In order to facilitate growth but at the same time, not buy a monster generator, we decided to go for a 24kW generator. This would ensure we had more than enough power to power the house and we stayed below 80% of the generator’s rating.
Bids, bids, and more bids…
With a general idea of of what we wanted, we set out to get bids. As is homeowner custom, we solicited three bids from various vendors:
- One company didn’t really even want to talk to us and mis-scheduled our sales call, then come to find out the on-site survey they scheduled was actually just a pre-sales call. They were hard to work with and so we didn’t even bother rescheduling.
- One company wanted well over $24K for an 18kW Kohler generator, it didn’t include installation, maintenance, or the transfer switch.
- The company we went with is Generator Supercenter, via a Costco promotion. Ivan, our sales agent had a Zoom call where I walked the property on the call and showed him our current service, and pointed to where I wanted the generator and where the gas line was at currently. Ivan made the entire process easy and didn’t even balk at allowing me to get quotes from others. His price couldn’t be beat at $13K for everything (install, gas line, ATS, etc.). He also found a great deal on financing the generator, so we got a competitive interest rate and loan term which made it a bit easier on the ol’ pocketbook.
Oh yeah… COVID’s still a thing.
With the ink dried from signing the contracts, we still had one lingering issue. COVID is still very much a thing, and while we weren’t directly affected with it (never caught it thank goodness!) we were still being affected from the supply issues that it had created. We signed the paperwork in June and were given an earliest possible appointment of March of 2022.
Fortunately for us, Generator Supercenter came through again and in early December, we got a call from their scheduling department to see if we’d be interested in jumping the queue to getting our generator installed. Apparently people don’t want to get standby power for Xmas?
Our generator went live on December 15, 2021 and has been in operation since. Of course, as luck would have it, we have yet to have an unplanned failover to generator. That’s not to say that we haven’t tested it, we did a load test in January and were well within spec.
But.. what about solar?
As much as I’d love to embrace my earth-saving granola crunching tie-dye wearing hippie side and declare independence from fossil fuels for emergency power generation, there were a few things that popped up in my research that made a full solar system untenable:
- Solar itself is expensive. 24kW would have put us over $20K for just panels and installation.
- Solar requires the grid to work! The use of microinverters (or one big honking inverter) require the grid as a frequency reference. No grid, no power. This actually affected several friends that thought their solar would keep the lights on!
- Solar will only work for emergency power failures if it’s designed from the beginning (called islanding). This configuration requires a lot of batteries which require their own maintenances.
- Solar Battery storage is big on price, small on actual storage. To sustain 18kW for five days (the duration of the power outage in 2021) would have required MANY battery banks, more batteries than we have exterior walls, and would have cost more than our mortgage.
- Our roof is only so big, plus I’d have to deal with the HOA. Our roof isn’t as large as some so the total power generation during the day wouldn’t be enough to charge the batteries and provide power to the house (you have to generate more than you consume, the extra goes into the batteries).
What happens when the power goes out?
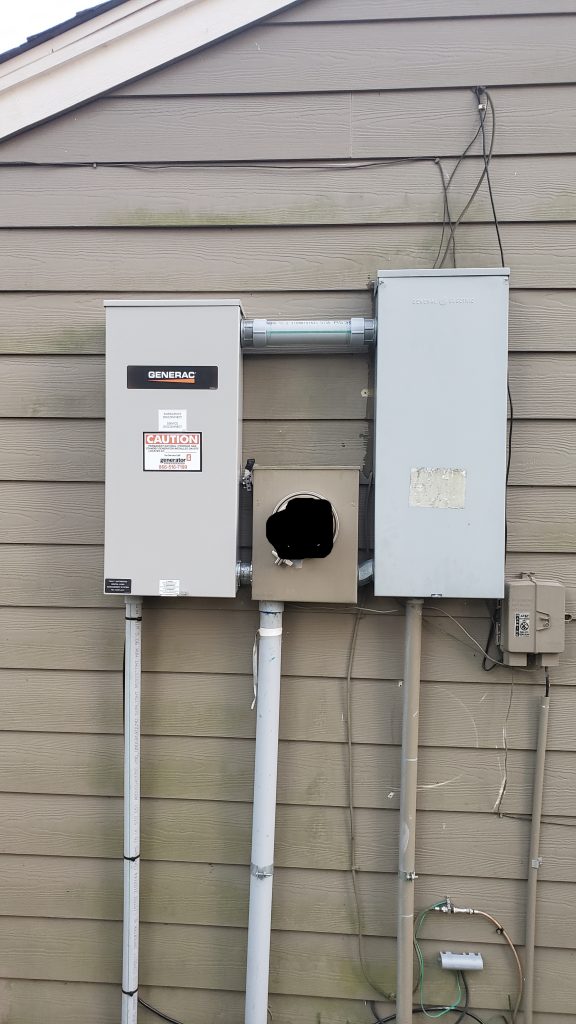
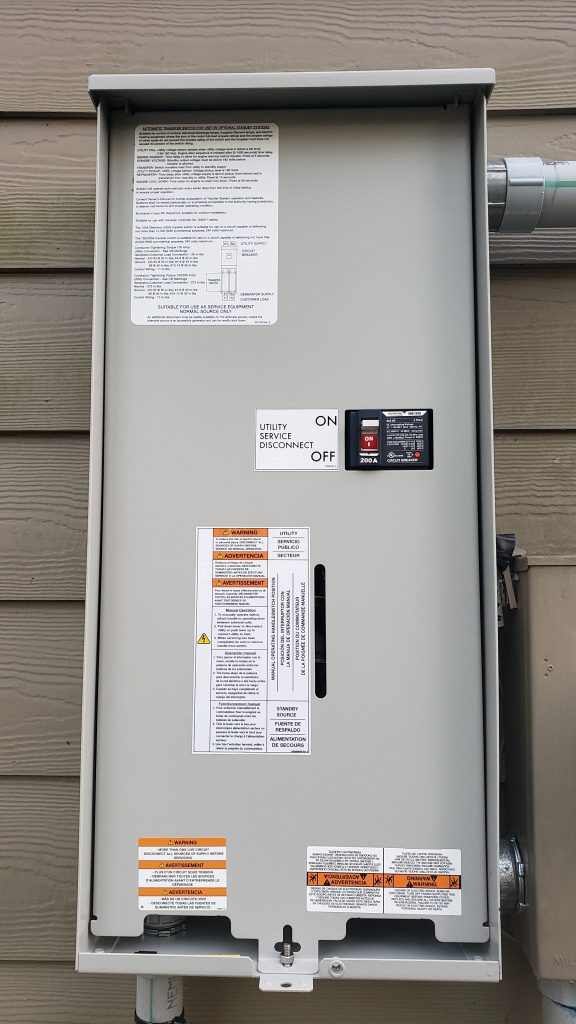
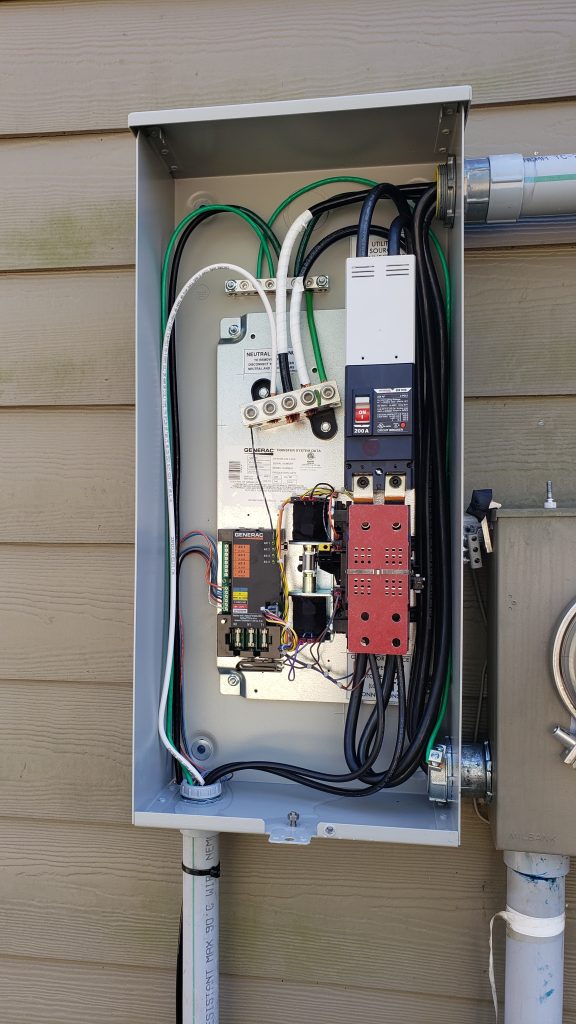
Because of our use of an automatic transfer switch, the full failover process is entirely automatic. The ATS monitors the utility voltage constantly and if it detects a drop (brownout) or a surge (higher than normal), the ATS will start the generator and give it a few seconds to wait for the generator to get to speed, then it will switch over the house from the utility feed to the generator. The entire process takes about 35 seconds.
It’s important to note that it’s not a 100% seamless failover, there is going to be a power outage (albeit a 35 second outage) so we have UPSes on all our computers and critical equipment. In order to make it seamless would require a datacenter UPS and a room to house it in, lol. I don’t think the wife would be willing to give up the closet for that. Besides, desktop UPSes are cheaper.
When utility service is restored, the ATS will switch back to utility service, then continue to run the generator for a few minutes for cool down (the generator is not providing power at this point). The switchover of the ATS causes a less than a second “blip” but it’s barely noticeable.
Maintenance items to consider
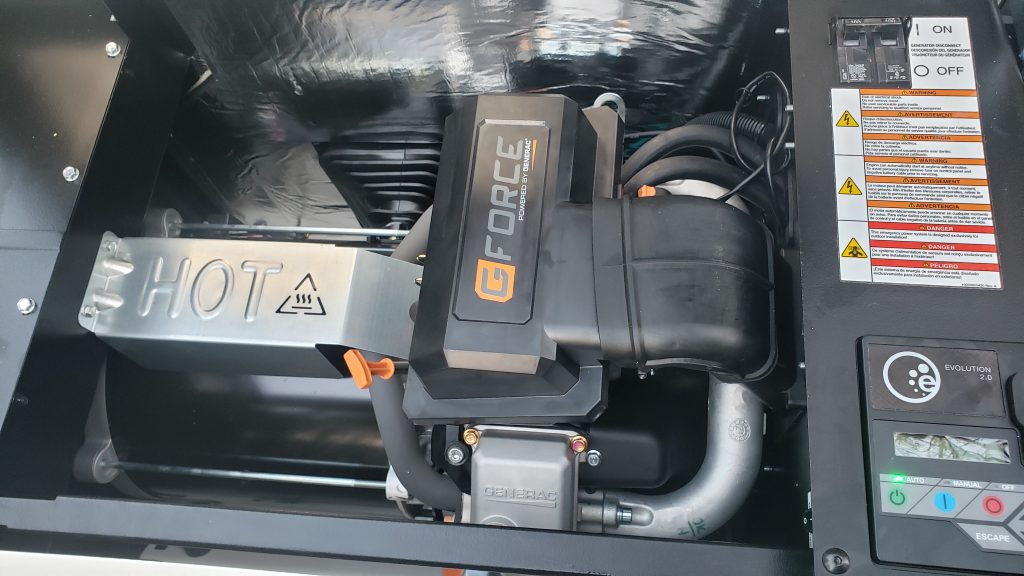
I recommend getting a maintenance contract at least for the first year but fortunately, parts are plentiful and the Generac engines are easy to work on. If you have ever maintained a gas riding lawnmower, you can maintain the generator. They even have a flex tube for the oil drain so you don’t have to worry about getting oil all over the engine bay.
Our manual came with detailed instructions on service intervals, part numbers, and recommended change intervals. Our generator requires a quart of synthetic oil to be changed every 100 hours of runtime.
There is a 24 hour runtime initial maintenance that needs to be done where the tech (or you if you’re competent enough) to check the valve clearances on the engine as part of the initial burn-in period. Once done, it’s part of the Schedule B maintenance, just to keep an eye on things.
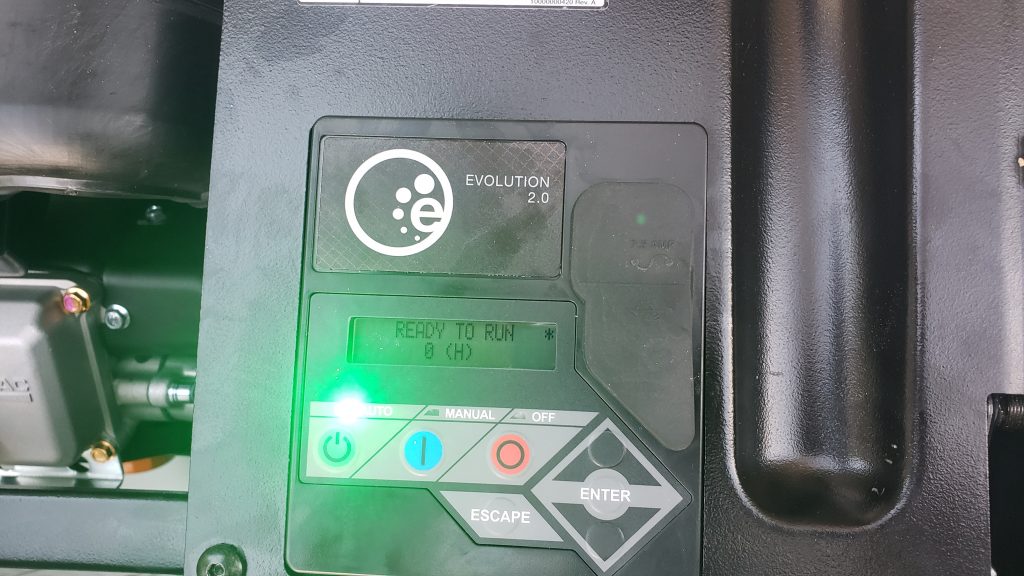
Automatic testing (Exercises) and manual testing
The generator is automatically configured to perform an automatic test and run for a few minutes. This is called an “exercise test” and it ensures that the oil in the bottom of the engine stays up in the engine. Over time, the oil will gradually drain to the bottom of the engine which causes a lot of wear on the cylinder walls and other moving parts, so the exercise is necessary to ensure the engine is properly lubricated. This is a no-load test and the duration and the scheduling of the exercise can be changed. For us, our generator fires off every Tuesday at 2PM.
Another test that should be mentioned in the manual but isn’t, is a full load test. This is where the utility service disconnect breaker (USD) is opened and the generator does its magic. It will detect the loss of utility power, start the generator, get it warmed up, and then switch the house to its output. This is necessary to ensure that the generator can carry the load of the house and all the devices in it. This is currently a manual test and I’ve got a calendar reminder to do it the first weekend of every quarter for one hour, just to make sure that everything is ready to go.
Datacenters will often schedule monthly full load tests where their utility feeds are disconnected (at a disconnect panel) and the UPS and generators take over and supply power to the datacenter. While we’re not that hardcore, knowing that the generator can and will sustain the load of the house during a test is a lot better than finding out during an actual power failure that something’s gone wrong.
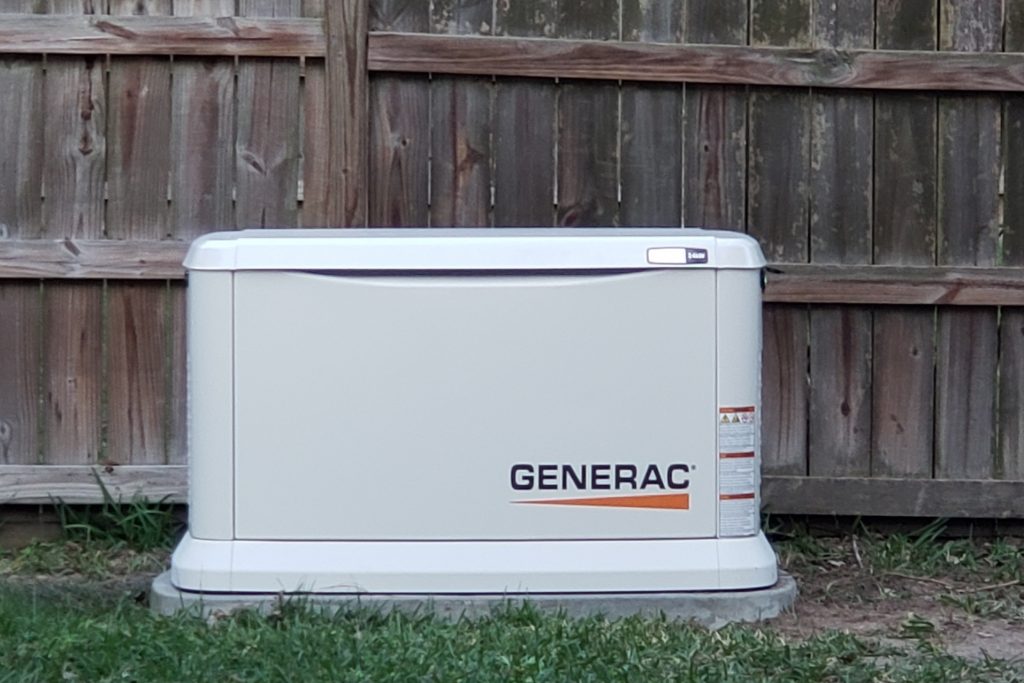
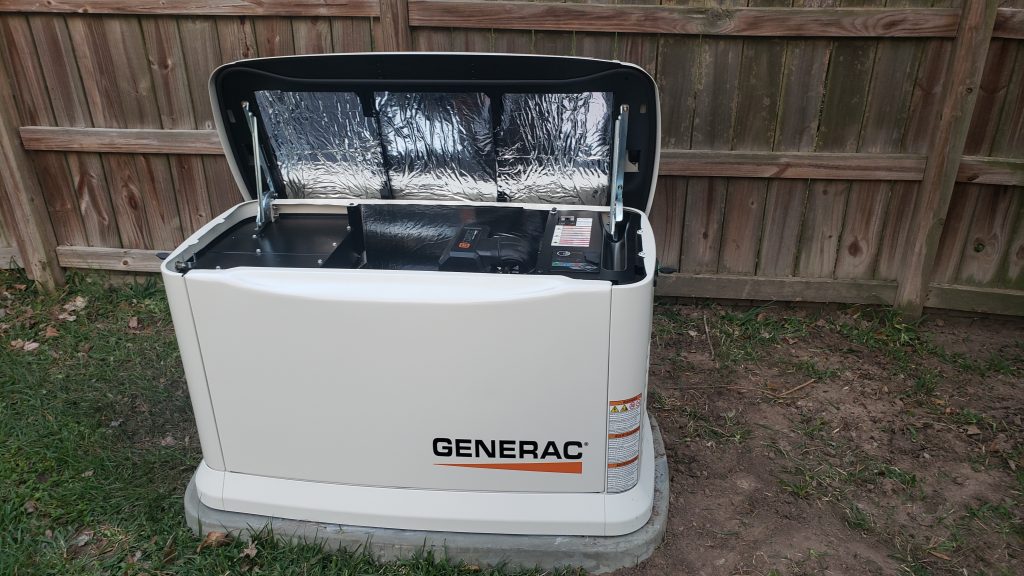
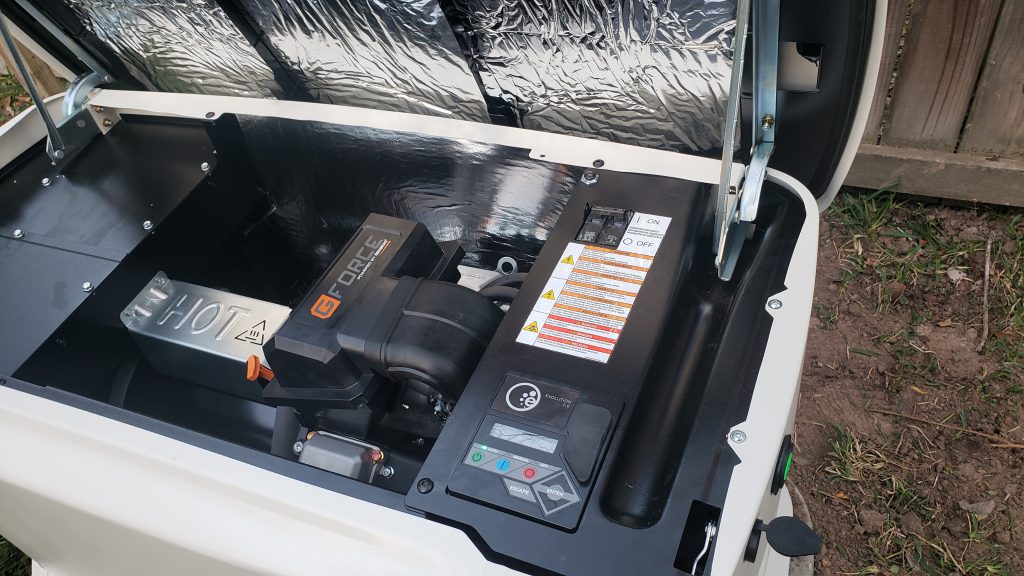
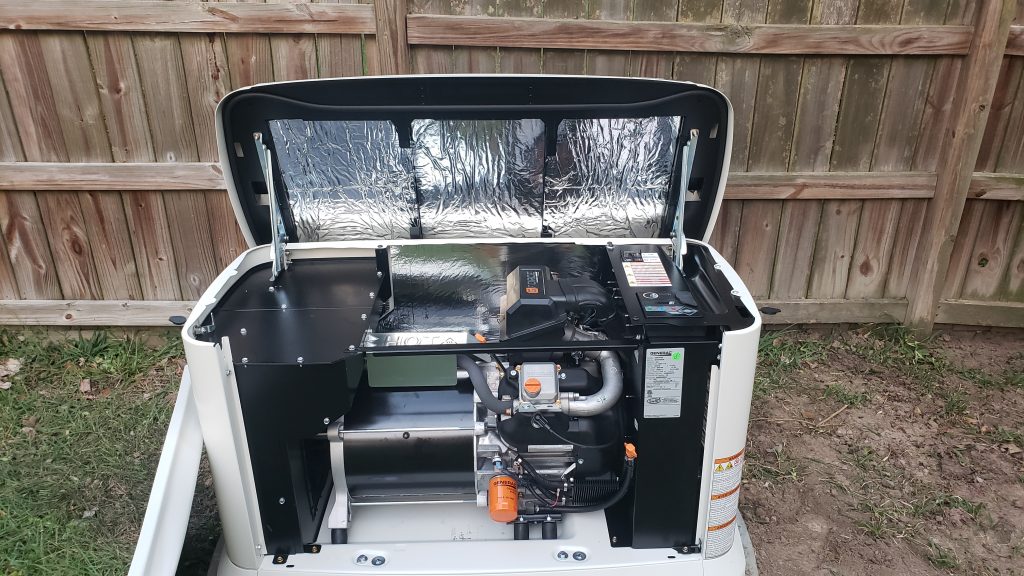
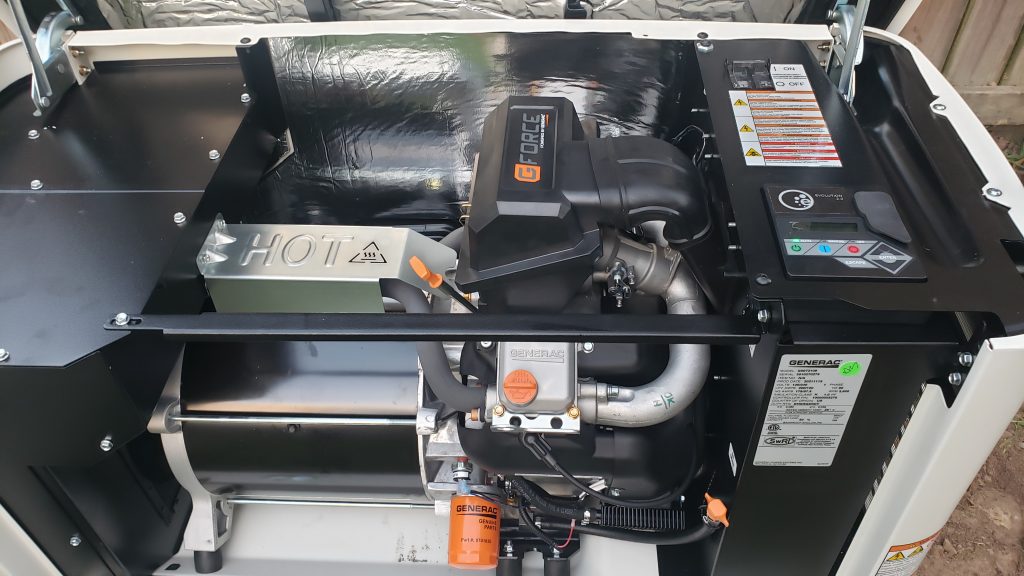
Finally…. photos of our installation!

Next up!
Now that we’ve covered the “Why” in our little generator adventure, in the next article, we’ll cover monitoring the generator and getting GenMon set up.
Happy Hacking!
FIRESTORM_v1